Overview of Baking Steps

1. Prepare the levain
Levain is the portion of prefermented flour and water that will go into a final dough to raise the whole dough. Take a portion of the starter and mix with flour and water. Cover and leave it at room temperature until the starter has risen to it’s peak. It works best when the starter has risen at least double or triple and is used at its peak, when there are lots of bubbles at its surface.

2. Mix the dough
Using a large mixing bowl, combine all the flour(s) and salt called for in the recipe. In another mixing bowl, combine all the wet ingredients (water and levain). Add the flour mixture to the wet mixture, stir and combine until no dry bits remain. Bench rest the dough by covering the dough with kitchen towel/linen cloth/cling wrap and letting it rest for 20-30 minutes.

3. Bulk fermentation
Once mixing has ended, bulk fermentation (aka first rise / primary fermentation), starts and lasts until the dough is divided and preshaped. Transfer the dough to a medium bowl and keep it covered at room temperature for about 3-4 hours.
Stretch and fold / Fold and Turn
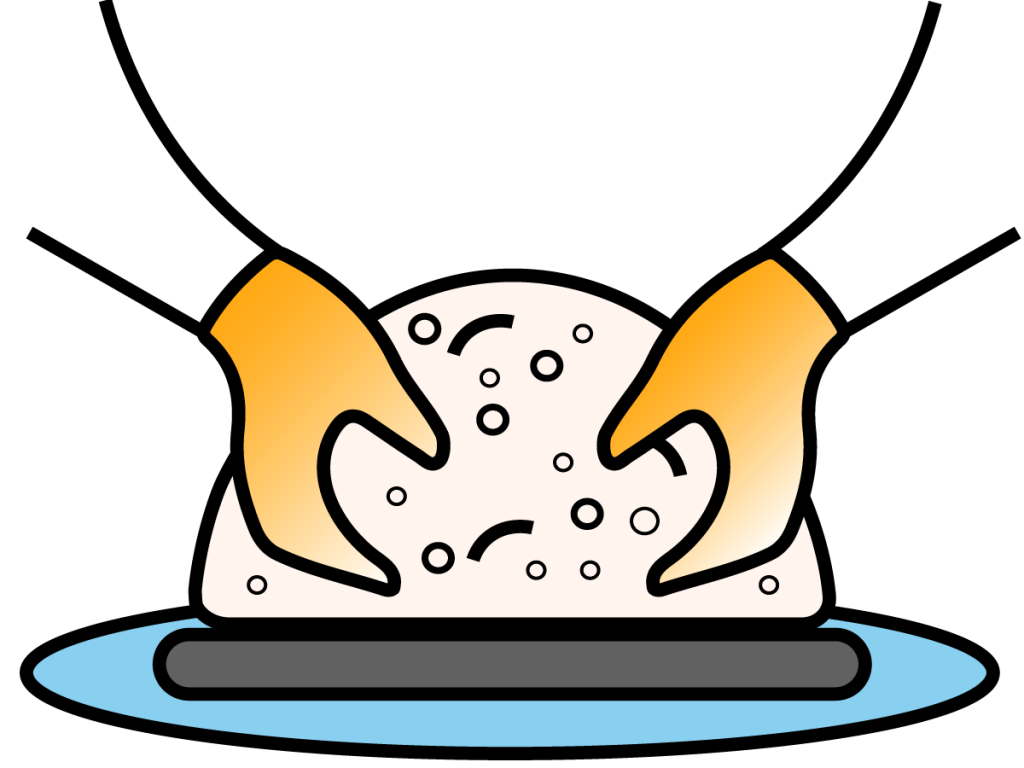
During the bulk fermentation, the strength of the dough is being developed by folding and turning it in a container. An example of how you can fold the dough is every 20-40 minutes for the first 2 hours of bulk rising. With a dampened hand, grab the outer edge of the dough, carefully pull to stretch it out a little, and fold it in toward the center. Continue grabbing, pulling, and folding the dough until you’ve gone all the way around, about 3-4 times, more if needed. Flip the dough over, round the dough into a ball and let it rest before repeating the same process.
When adding inclusions, like seeds, porridge, grains or nuts, you can add them in the beginning or after 1-2 set of stretch and fold(s).
At the end of bulk fermentation, the dough should feel aerated, billowy and soft. Check that the dough has increased in volume by about 20-30%.


4. Divide and Preshape
When the dough is ready, use your hands or a spatula to gently release the dough from the bulk container. Lightly flour the top of the dough and cut the dough into two using a dough scraper (skip this step if making only 1 loaf). Use the scraper to gently round up the dough into a boule (round ball). The dough should have a taut smooth surface.
Bench rest the dough by covering the dough with kitchen towel/linen cloth/cling wrap and let it rest for 20 minutes.
While waiting, start to prepare a basket/bowl lined with kitchen towel/linen cloth and dust it with rice flour to prevent the dough from sticking to the cloth. Alternatively, you can use tapioca flour or semolina flour.

5. Final Shape
Slide the dough scraper under the dough and turn it over, flour-side (non sticky) down. Proceed to shape the dough into a boule (round) or batard (oval).

6. Final Proofing
Transfer the dough seam side up into the floured basket that was prepared earlier. If the recipe calls for the loaf to be coated in seeds or grains, roll the top side of the dough on a plate that has been spread with it before transferring it into the baskets. Cover with a clean towel or plastic and let it rise at room temperature for 3 -5 hours or overnight in the refrigerator (aka cold retard).


7. Scoring & Baking
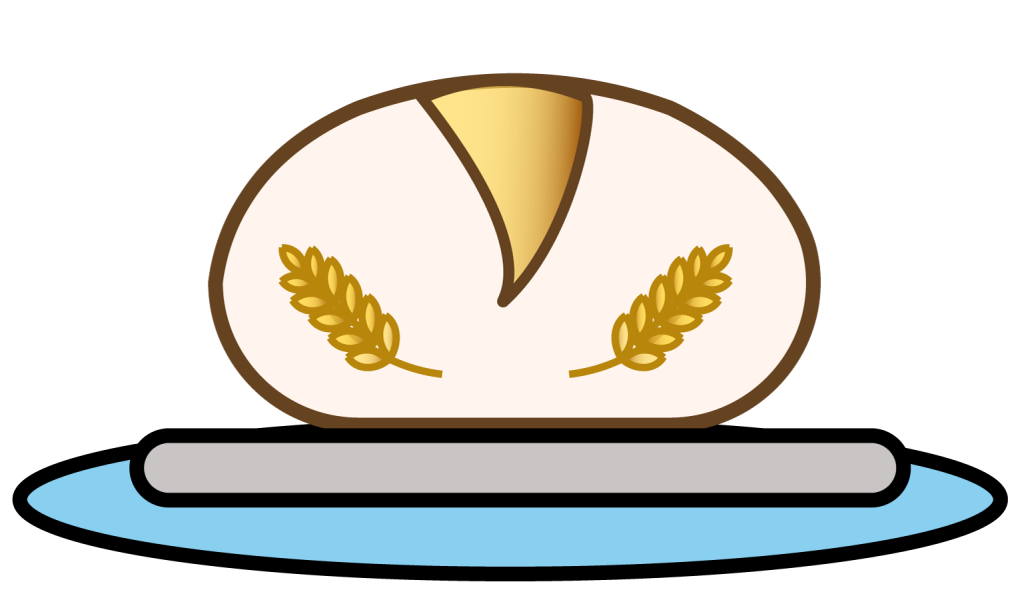
Scoring means slashing the dough with a sharp knife or a bread lame. Cutting the dough will give a weak spot for the dough to rise and hopefully get that elusive “ear” that sourdough bakers often try to achieve. To do this, the dough should be slashed at a 30 degrees angle at about 1/2 inch deep.
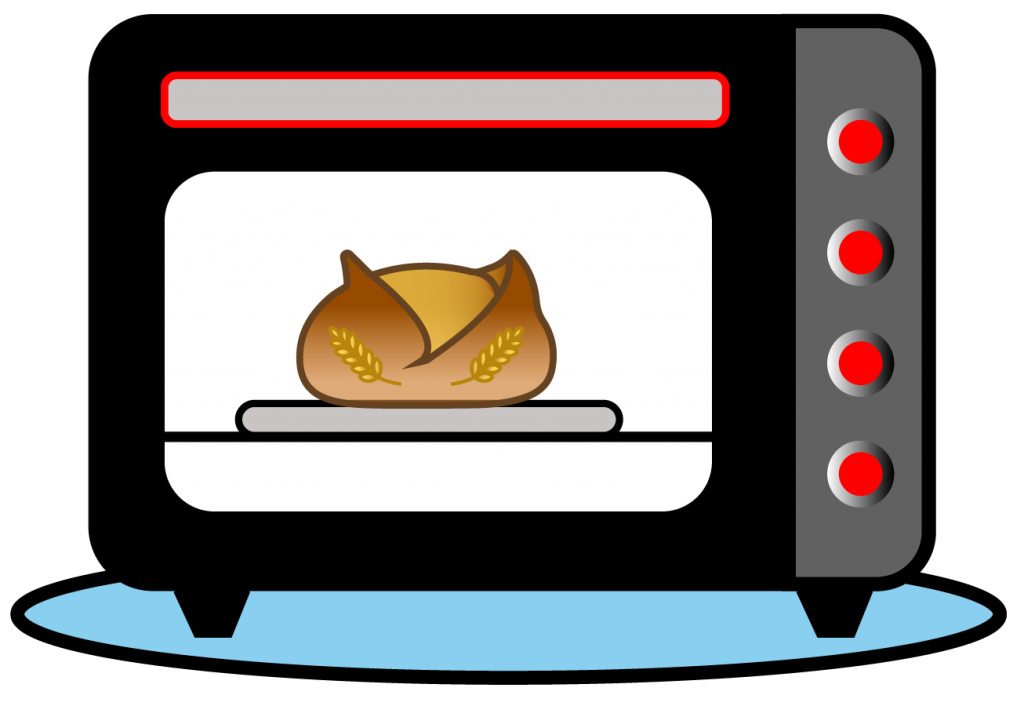
Preheat the oven to 220°C for 20 minutes. Use an oven thermometer to check that the oven actually reaches the temperature. If you are using a dutch oven, place it in the oven at the start of preheating.
If you are using a dutch oven, carefully place the dough into the dutch oven and cover the lid. Bake the dough at 220°C for about 20-25 minutes before removing the lid and continue baking for another 15-20 minutes until the crust is light golden brown and internal temperature is about 96-99°C.

8. Cooling & Storage
Once the sourdough bread is baked, transfer the bread to a wire rack and let it cool completely to about 35-38°C before cutting into it. Otherwise, it may result in a gummy and sticky bread.
Store the bread at room temperature for about 2-3 days using a cotton bread bag or wrap in a large tea towel to keep the moisture in or kept in an airtight container. Do not store your bread in the fridge as it will dry up the bread. For longer term storage, slice up the bread wrap it in parchment paper of beeswax wrap and a sealed ziplock bag before placing it in the freezer.
Frequently Asked Questions:
Both the levain and starter consists of the same ingredients. The only difference is that the levain is the portion that will be used and go into the dough whereas the starter is the portion that is kept.
This technique is mostly used for “no knead” bread recipes, whereby it replaces the the kneading process. Stretch and folds is mainly used to develop dough strength. However, it can also help to even out dough temperature and restructure the gluten network to get a more even crumb structure.
Preshaping gives a final boost for the dough to develop dough strength and pop any large unwanted air bubbles as well. Letting the dough rest for another 20-30 minutes before doing final shape helps the gluten structure to relax so that it can be shaped into it’s final product before final proofing stage.
Boule and batard are names of the shape of bread and it is derived from the French word. Boule means “round” whereas batard is “oval”, a wider version of a baguette.
