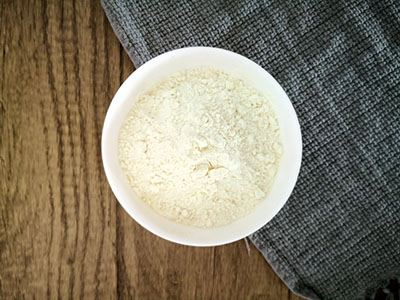
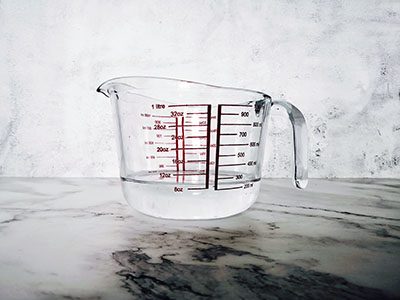
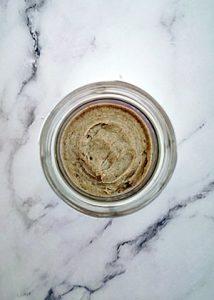
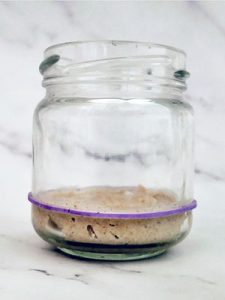
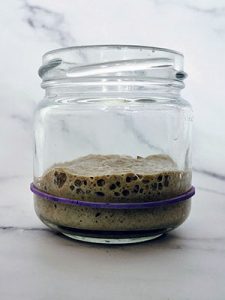
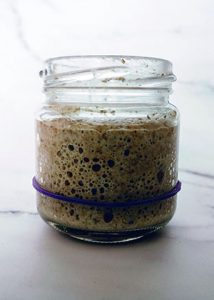
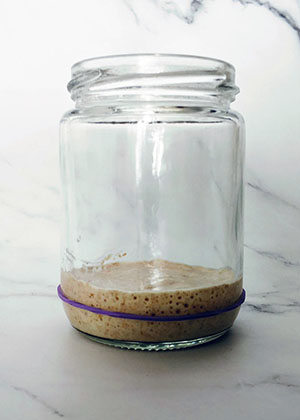
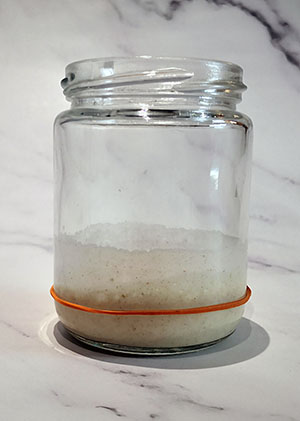
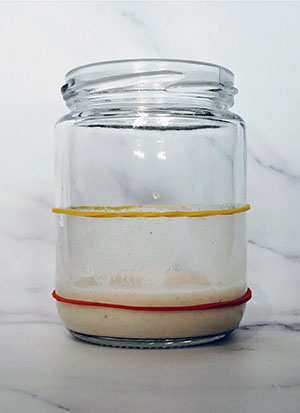
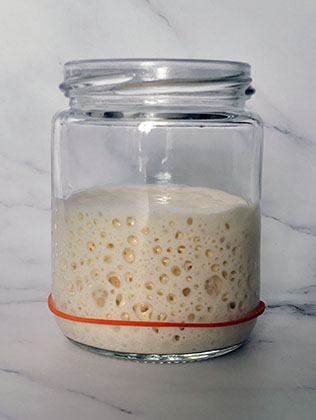
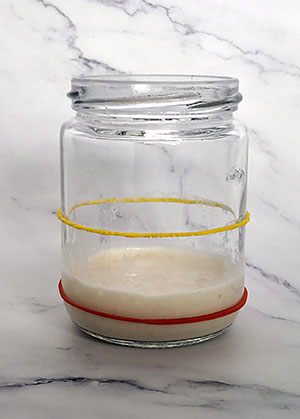
How often should I refresh/feed my starter? On the first 2 days of the starter’s life, you will only need to feed it daily. But from Day 3 onwards, you will need to feed it twice daily at 12 hours intervals. The above is just a general guideline to follow. What is important to note here is to look for signs of activity. You will want your starter to have some bubbles, some rising and falling happening. It will normally take about 12-24 hours for it to happen.
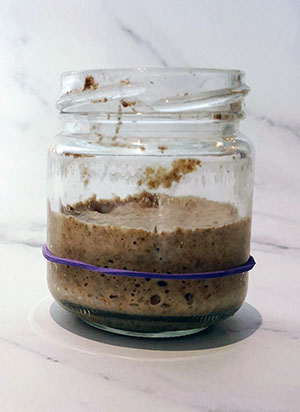
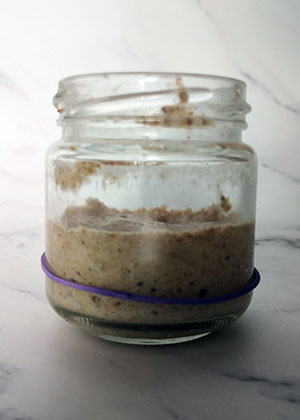
If nothing happens after 36 hours, check the steps above and make sure if you did it correctly. If everything is okay, discard and try again. If after two or three times and get no results, try a different brand of flour or water.