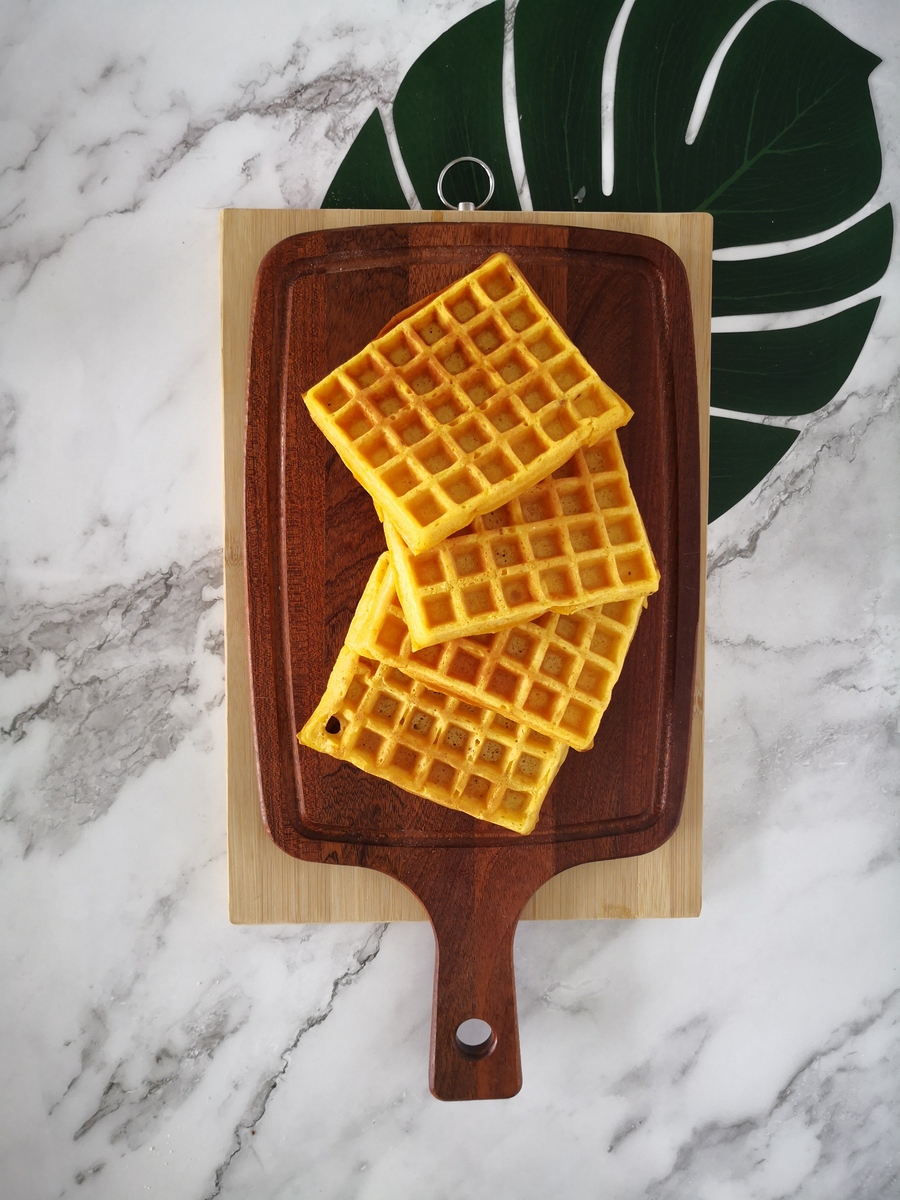
Crispy on the outside and soft on the inside...
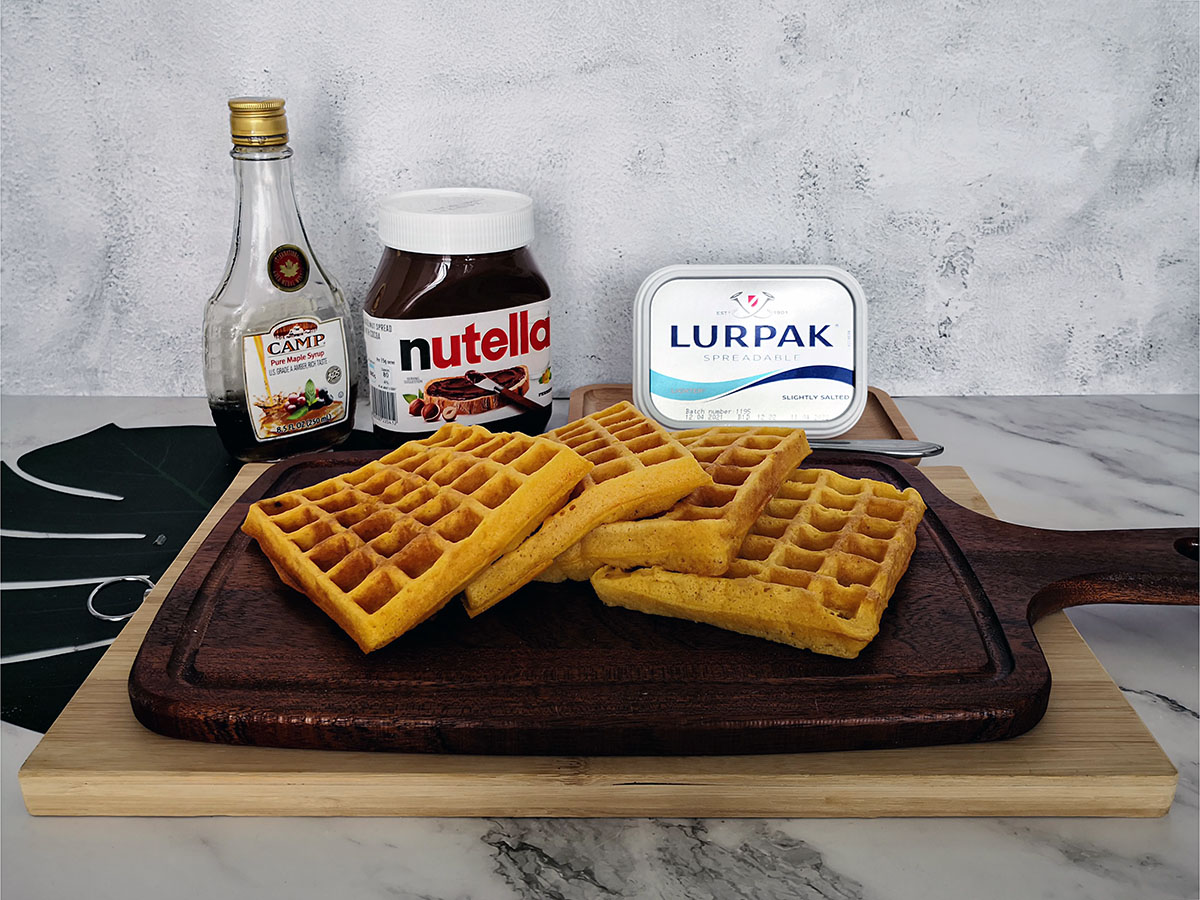
Sourdough waffles anyone? Yum yum….
A perfect way to use up your discard and make delicious waffles at the same time. If you don’t have a waffle maker, fret not, this recipe can be also make pancakes as well!
This recipe is so easy as it can be done by hand and you wouldn’t believe it till you try it for yourself. You will only need to prepare a sponge dough and leave it overnight to ferment. The next morning, mix the dough, cook it and eat it! It’s recently became a family favourite in my house and I make it almost every week.
What is a sponge method?
A sponge (aka preferment) is made when some of the ingredients are mixed together and allowed to ferment for a length of time before adding the remaining ingredients. It is mainly use to create an airy spongy texture and also enhance the flavour of the dough.
What tools do I need?
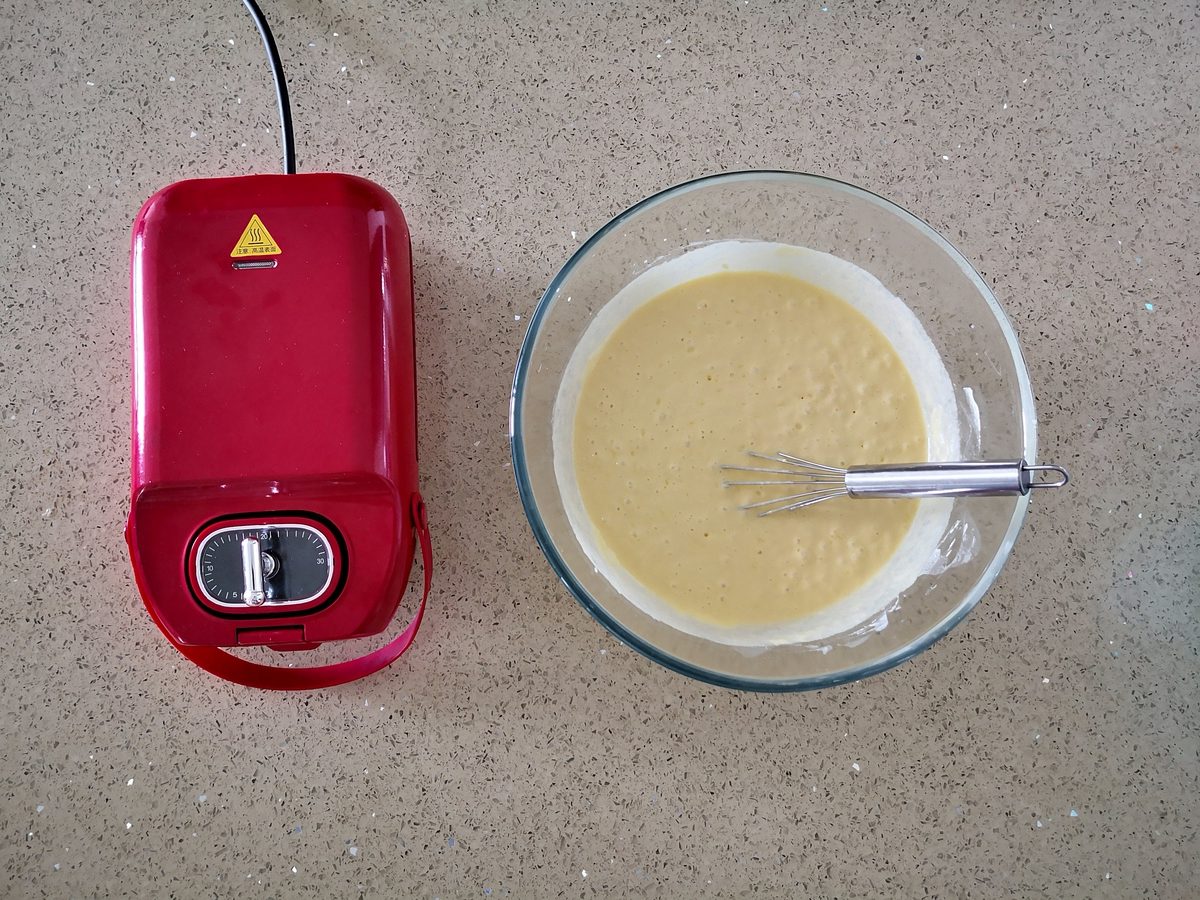
List of the baking tools and supplies that you will need to prepare beforehand:
- Waffle maker
- Sourdough Starter (active/unfed/discard)
- Mixing bowl
- Whisk
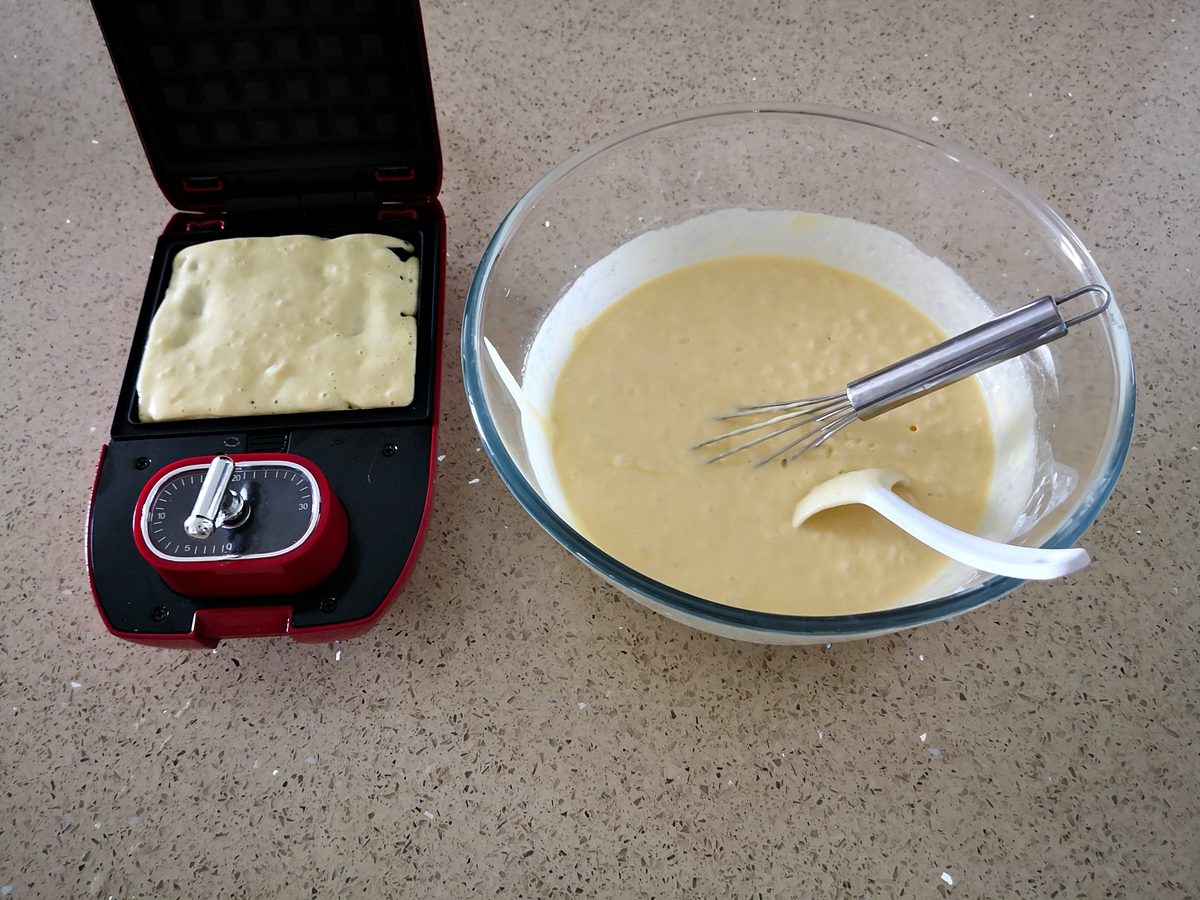
- Soup ladle / Ice cream scoop
How to make Sourdough Waffles?
Start preparing the sponge the night before...
- 100g Sourdough Discard
- 80g All purpose flour
- 20g Wholemeal flour
- 150ml milk
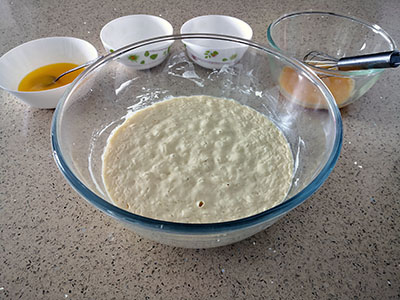
Using a large mixing bowl, add the sourdough discard, flour and milk together. Cover the bowl and let it rest at room temperature of 28-29°C for 3-4 hours before refrigerating. Alternatively, you can leave it out overnight if your room temperature is way cooler 18-21°C for about 8-12 hours.
Next morning...
- 1 Egg
- 15g Sugar
- 45g Butter
- 1.4g Salt
- 2.5g Baking soda
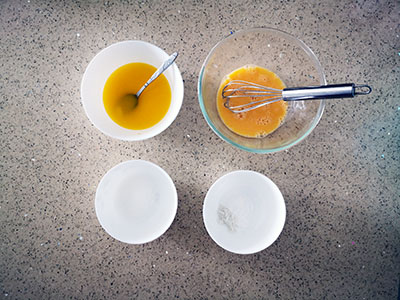
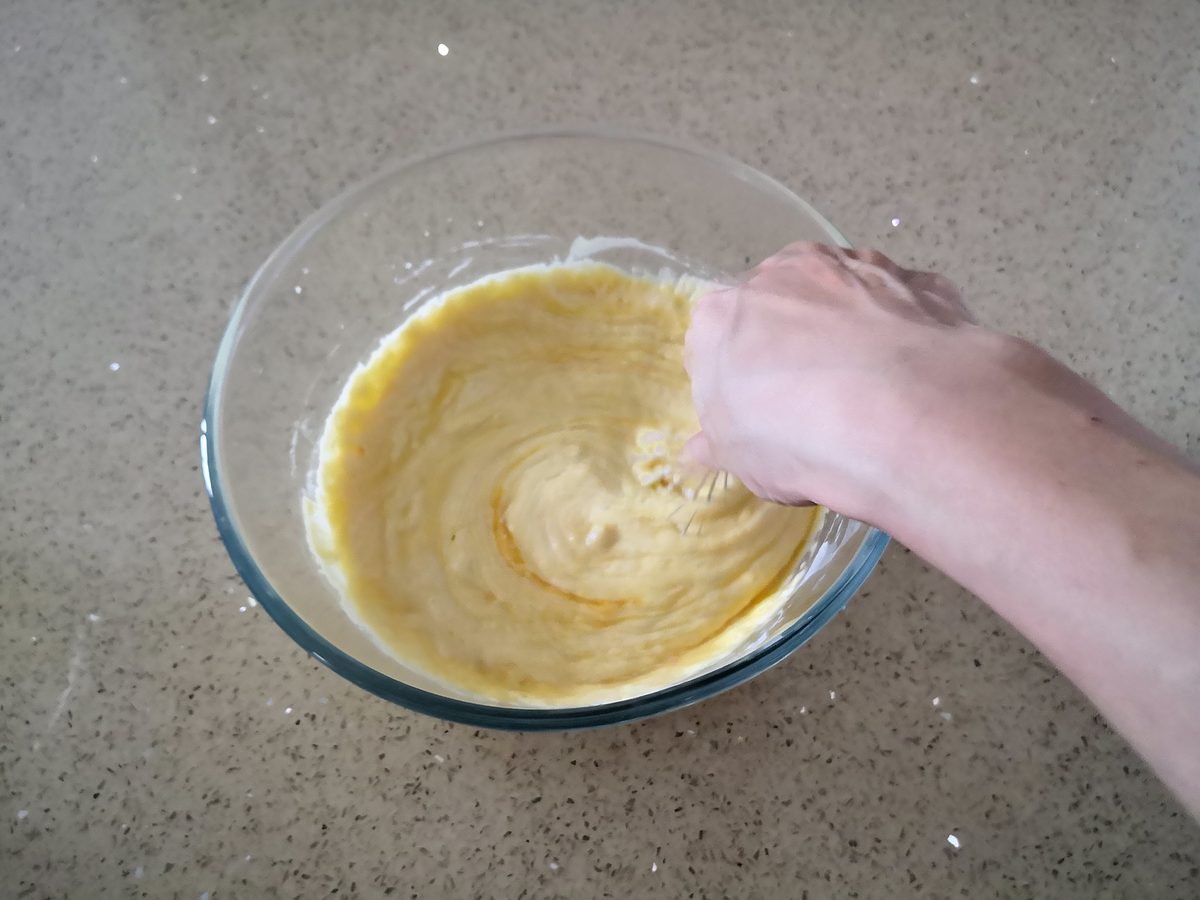
It is time to add some texture and flavour to the dough. Start by adding the balance of the ingredients. Whisk the egg before adding the sugar, melted butter, salt and baking soda. Mix well till no lumps remaining in the batter. It should start to look bubbly.
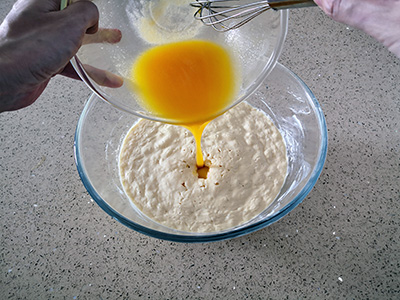
Gently fold in the egg mixture into the sponge that was made yesterday. Do not overmix the batter as the waffle may turn out hard and stiff.
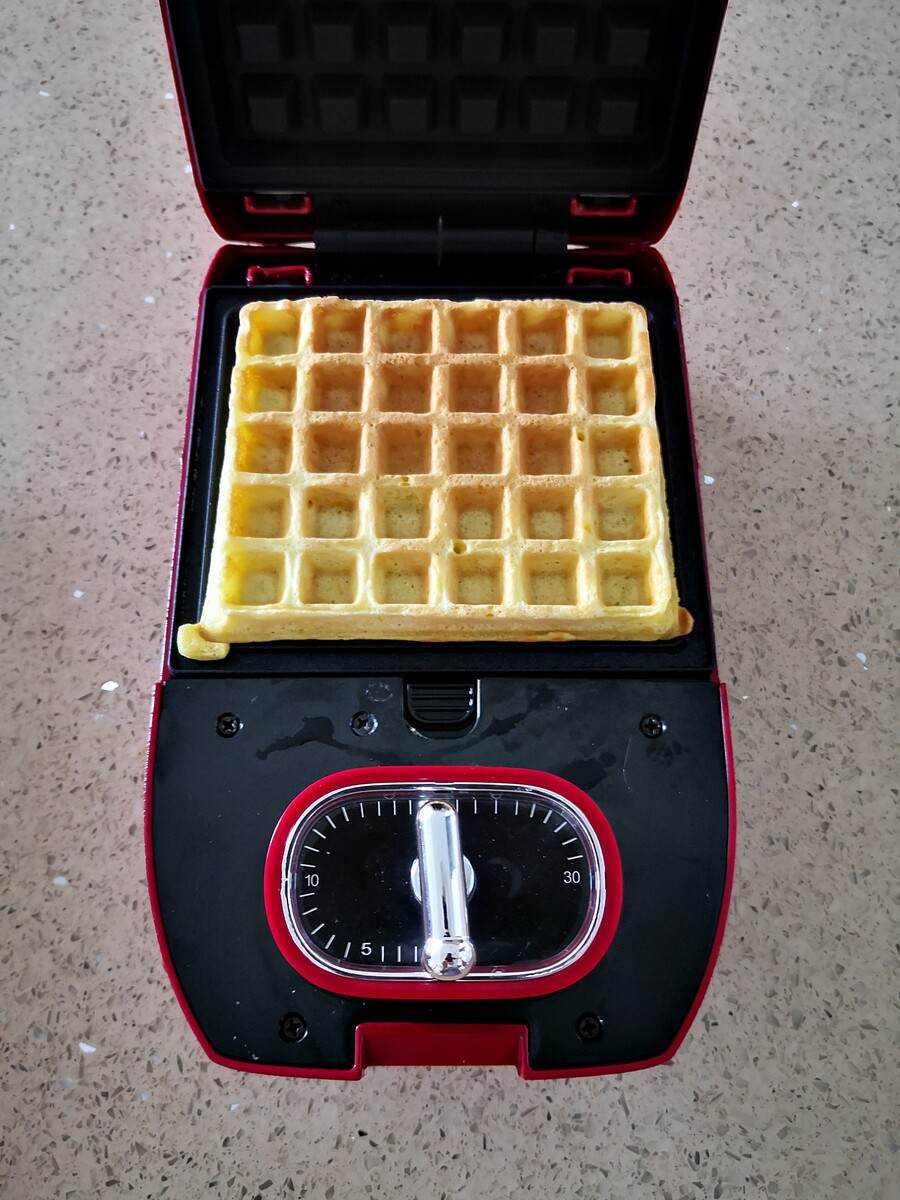
Preheat the waffle maker before pouring the batter onto the greased waffle maker to bake till its golden and crisp. After 5 minutes, flip over the waffle to cook for another 3 minutes get a more even crispiness and browning effect.
Note: Timings may vary depending on the type of waffle maker that you have. Please follow manufacturer’s instructions for best results.
Tips for Success
- Sourdough Starter (unfed/discard) – Preferably, use sourdough discard that is about 1 week old. I normally use within 80-120g of sourdough discard, depending on how much I have leftover. All you need to do is reduce or increase the milk and flour by the same amount. For example, if you use 80g sourdough discard, then add 10g milk and 10g flour.
- Flour – Feel free to change the proportion of the wholemeal and all purpose flour. Do take note that a higher proportion of wholemeal flour will result in a more “grainy” waffle texture.
- Double batches or more – Make more in one go and freeze it and save it up for later. Don’t do what I did. Mix everything in one go. If you only have a small waffle maker like me, I would suggest that you mix the first recipe and when it’s about done, mix the second batch so as to keep the bubbly texture from sizzling out. Another thing i like about this size is that it can fit nicely in a small bread toaster. Just pop it in the toaster and it’s just crisps back up.
For more sourdough adventures, please visit my “Sourdough” page. Enjoy the waffles!

