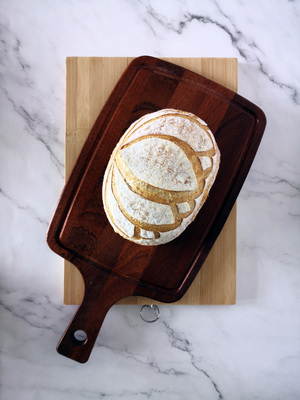
Country Style Bread,
a healthier choice with wholewheat and a little nutty taste!
Overview of the process
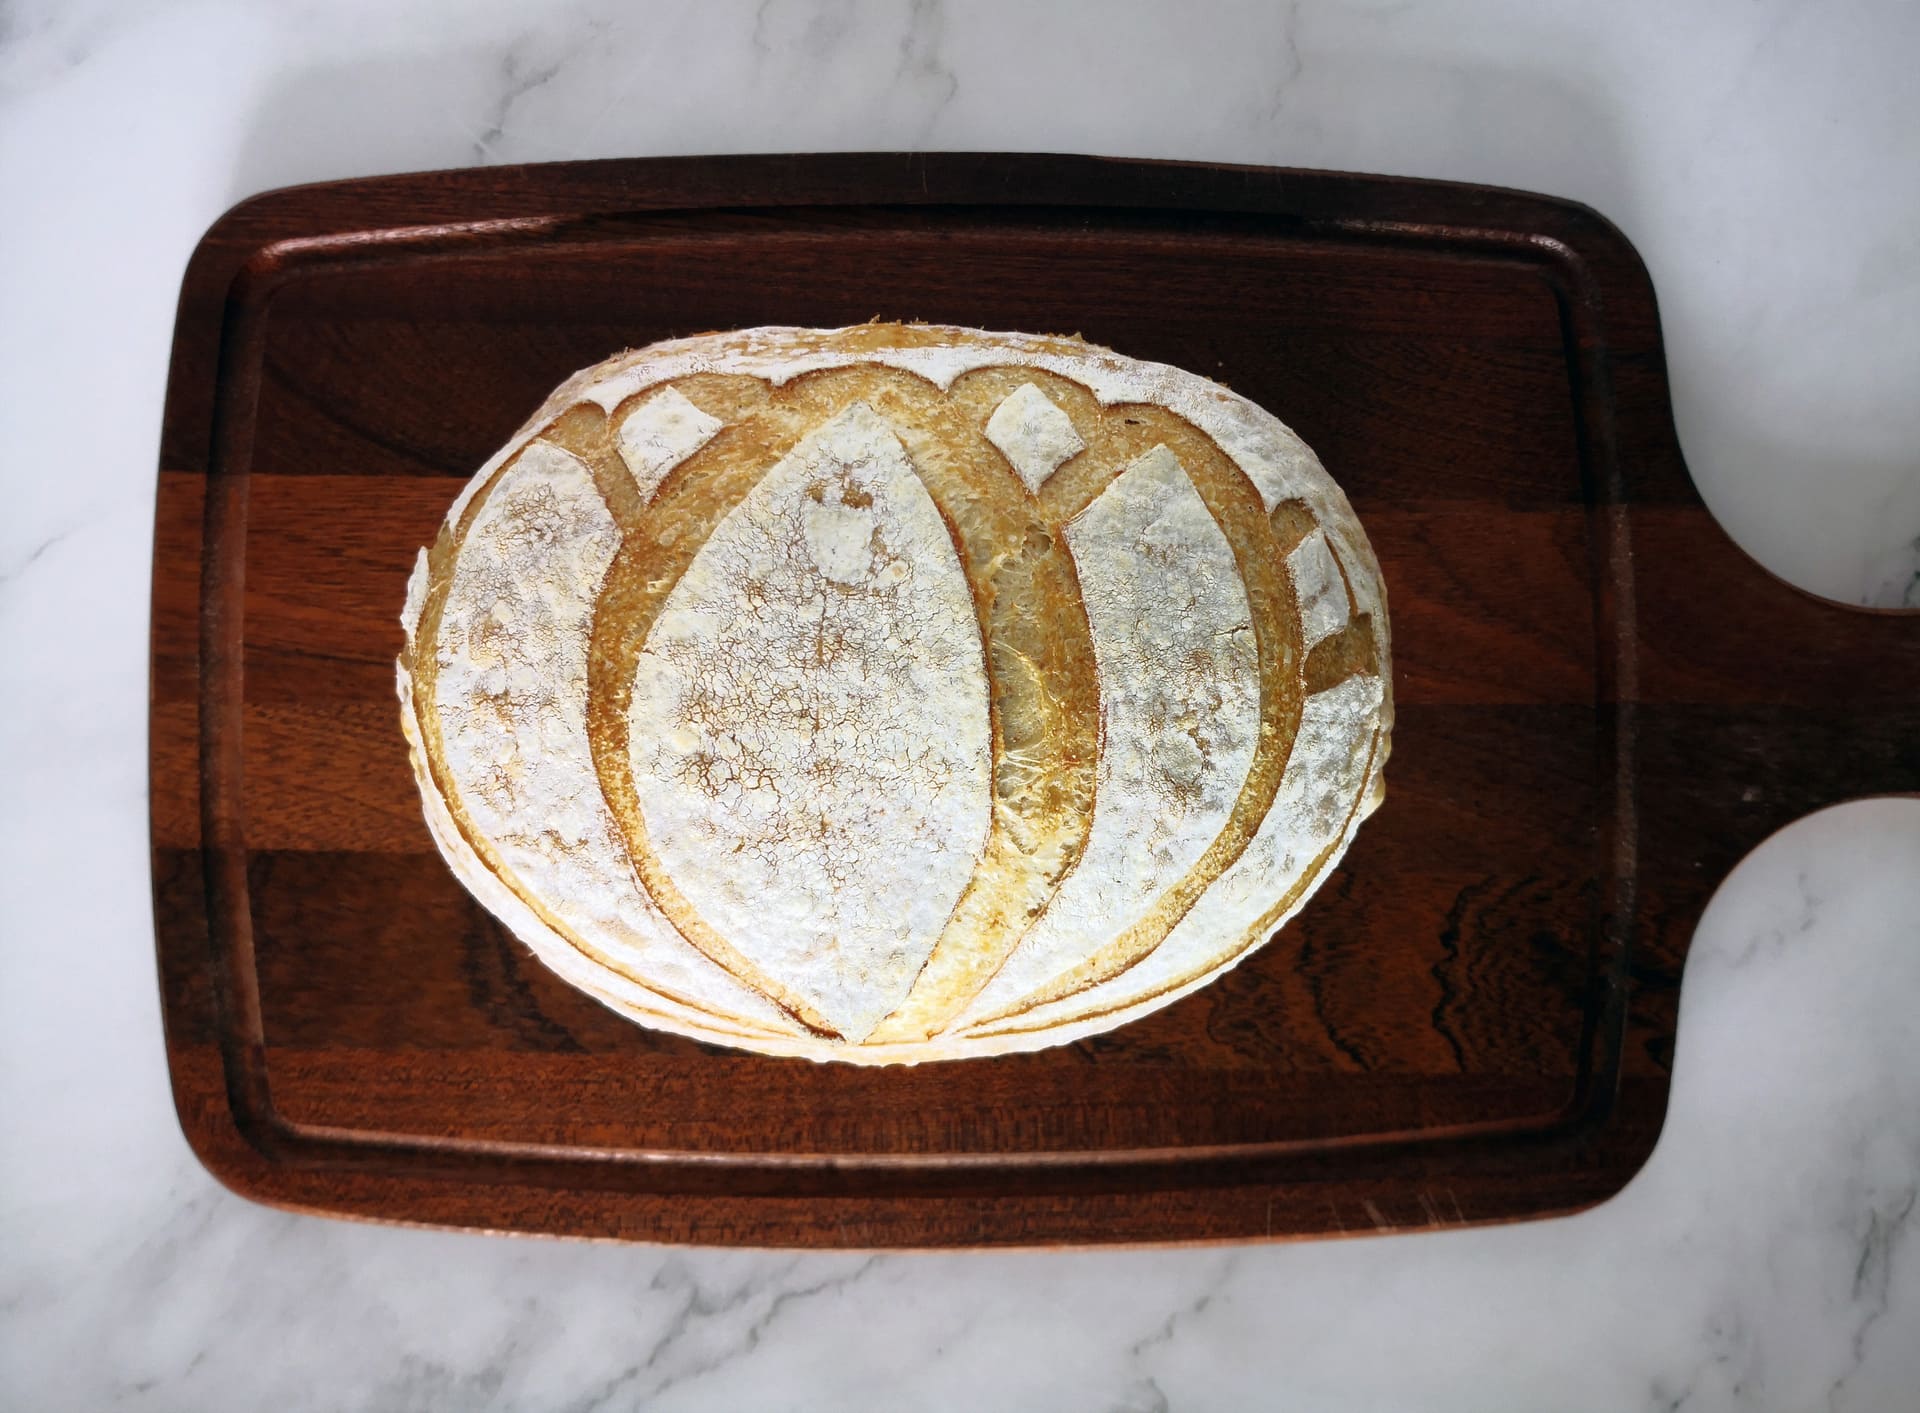
This Country Sourdough Bread combines two different flours, high protein flour (aka bread flour) and wholewheat flour to give that slightly nutty flavour and a nice even crumb. This recipe is ideal for beginners and experts alike.
Before you can start making a sourdough loaf, you will first need a sourdough starter. A starter needs to be mature, refreshed and used at peak for it to perform as it’s best. If you don’t have one and would like to know how to make one, please visit Sourdough Starter Guide.
The method of making sourdough is pretty much straightforward, which usually starts off with preparing the levain, mixing the dough, performing a series of stretch and folds with some resting periods in between before the final proofing in the refrigerator. The next day, remove the dough from the refrigerator for baking. Once the loaves cool down, time to cut into the loaf and enjoy your slice of bread. For more details, please visit Sourdough Baking.
Listed below are some of the baking tools you will need to prepare beforehand.
- Digital Weighing Scale
- Digital Thermometer
- Dough scraper
- Bulk Fermentation Container
- Dutch Oven
- Mixing bowl
- Bread Lame / Sharp Knife
- Banneton basket / Big Round Bowl
To learn more details about baking tools, please visit Baking Tools and Supplies.
How to make Country Sourdough Bread?
List of ingredients needed to make the simple sourdough bread as follows:
- 240g Bread Flour
- 60g Wholewheat Flour
- 60g Levain
- 210g Water
- 6g Sea Salt
Step 1: Prepare levain
Before preparing the levain, you will first be needing a well fed matured starter.
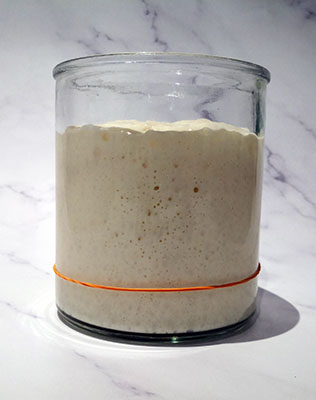
How? By feeding it regularly and getting to know the starter, how long it takes to peak, how it looks at “peak”. In a small container, mix the liquid starter and use it at peak. It works best when the starter is thick in consistency and rises at least 2 times or more.
When you are ready to make the dough, prepare the levain the night before by mixing 10g of starter with 50g of flour and 50g water. Leave it at room temperature (24-26°C) for 8-10 hours. Once the levain reaches it’s peak, it is time to mix the dough.
Step 2: Mix the dough
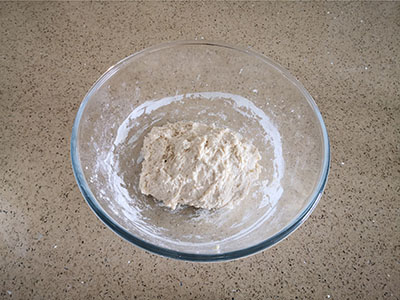
In a large bowl, combine the levain and water before adding the flour and salt. Mix everything together until no dry flour bits remain. It will look like a sticky, shaggy dough. Let the dough rest for 20 minutes.
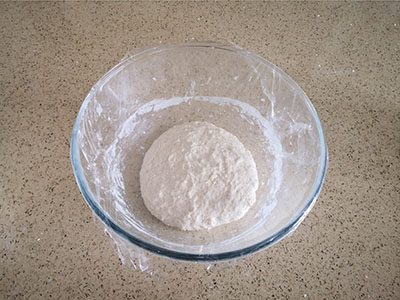
After 20 minutes, knead the dough into a round ball and transfer the dough back into the bowl. Cover and let it rest for 20 minutes.
Step 3: Bulk Fermentation
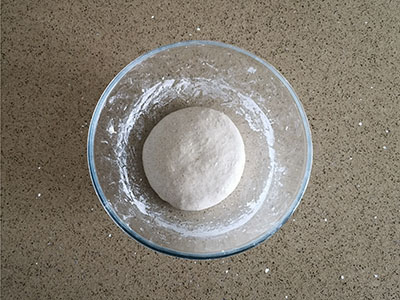
Over the next few hours, perform 3-4 sets of stretch and folds to strengthen the dough at 20-30 minutes timed intervals. With a dampened hand, grab the outer edge of the dough, carefully pull to stretch it out a little, and fold it in toward the center. Continue grabbing, pulling, and folding the dough until you’ve gone all the way around, about 3-4 times, more if needed. Flip the dough over, round the dough into a ball and let it rest before repeating the same process.
Step 4: Preshape
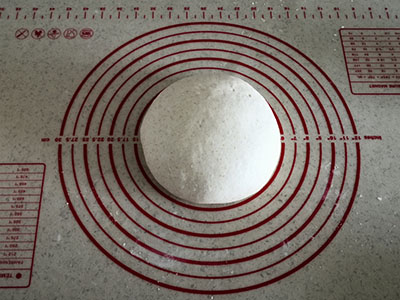
At the end of bulk fermentation, the dough should have risen 20-30%. It will be bubbly, smooth and elastic. Turn the dough into a lightly flour surface and gently shape the dough into a boule or batard shape. Let the dough rest for 20 minutes before performing final shaping.
Step 5: Final Shape
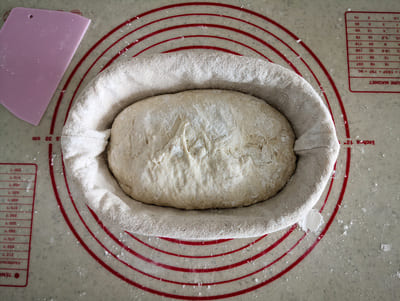
Once the dough has rested and relaxed, it is time to do the final shaping before placing the dough seam side up into a proofing bowl (like a banneton basket or round container) sprinkled with rice flour.
Step 6: Final Proofing
Cover the banneton basket with a cloth or a plastic bag and seal it shut with a rubber band. Place the basket in the refrigerator and let it proof overnight.
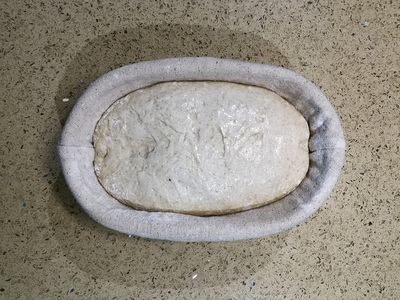
Step 7A: Score
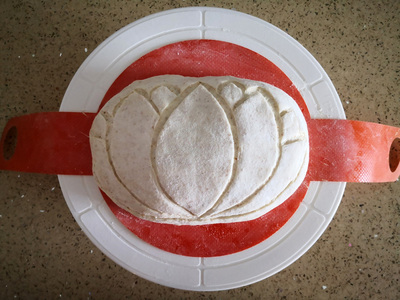
The next day, preheat the Dutch oven to 220°C for 30 minutes.
While the oven is preheating, remove the dough from the refrigerator and turnout the dough onto a piece of parchment paper or bread sling. Sprinkle some rice flour on the dough. Using a toothpick, outline the flower shape above. Once completed, cut the dough using a sharp lame.
Step 7B: Bake
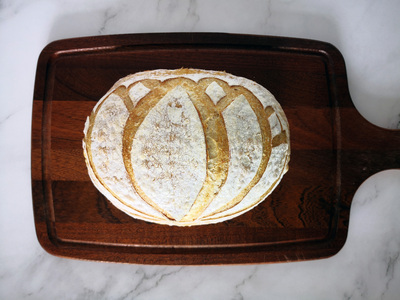
Using oven gloves, carefully remove the lid of the hot dutch oven and place the dough into the dutch oven. Bake the dough in Dutch oven with a lid at 220°C for 25 minutes. After 25 minutes, remove the lid and bake at 200°C for another 10-15 minutes, or until internal temperature reaches 96-99°C.
Step 8: Cooling and Storage
Remove the bread from the oven and transfer the bread to a wire rack and let it cool completely for about 3 hours to 35-38°C before cutting into it. Cutting into a warm bread may result in a gummy and sticky bread.
Store the bread at room temperature for about 2-3 days using a cotton bread bag or wrap in a large tea towel to keep the moisture in or keep it in an airtight container. For longer term storage, store the bread in the freezer. Slice up the bread and individually wrap it in parchment paper or beeswax wrap before placing it in a ziplock bag.
Note: DO NOT store the bread in the fridge as it will cause the bread to stale faster.
